
This was a challenging picture to do because you MUST work quickly. Watercolors are so awesome because you have a painting in very little time. You can capture a moment in just a few minutes of painting. On the other hand watercolors are so hard because you have a painting in so very little time... My kids loved this painting because it reminded them of our family reunion at South Padre Island. Everyday the Gulf of Mexico looked just like this, rollers as far as the eye could see.
I did make some mistakes this week and I will of course show them to you so you can learn from me! I will blame it on "short term memory" problems. I'm so glad in each painting we seem to make yet another mistake. So often kids get intimidated by the white paper or the fear of making mistakes. Mistakes can often lead to an unexpected result, but still a good painting. Mistakes should be seen as opportunities not "Errors."

Day 2

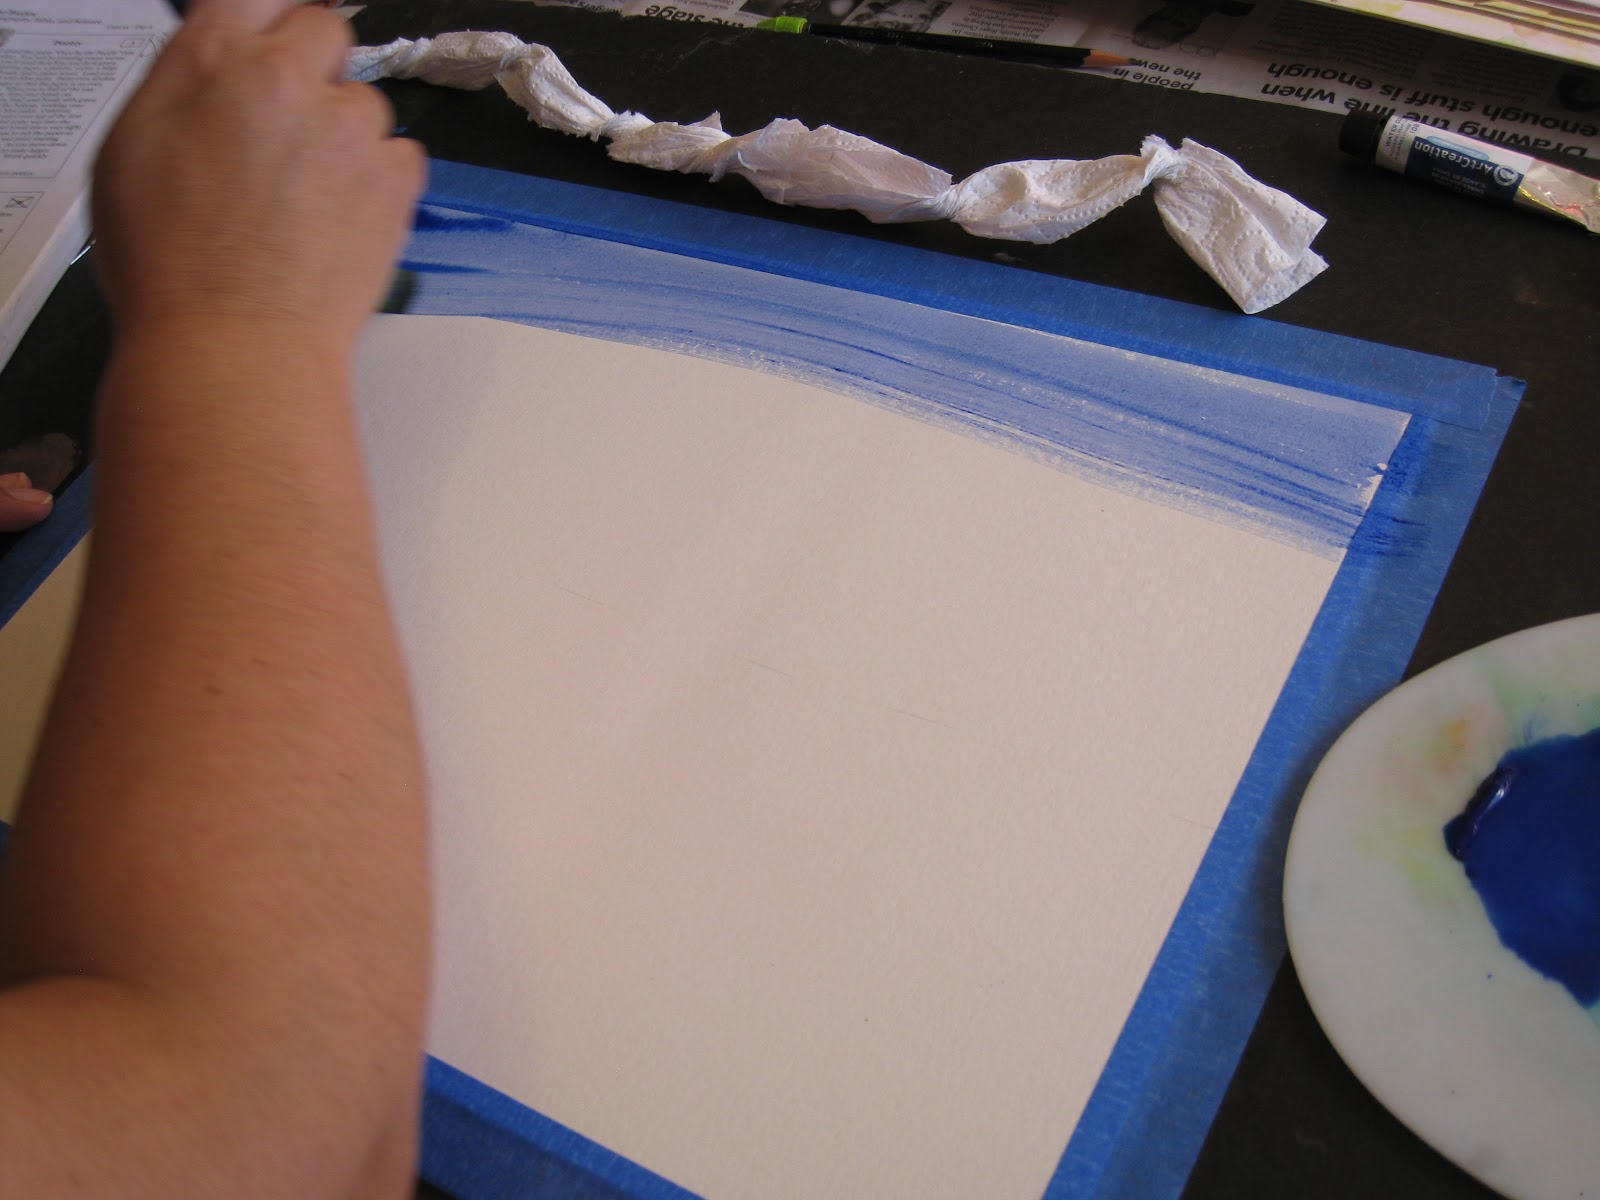
Tape down your paper if you want them to dry flat, and have a nice clean white edge.

Squeeze out medium size blobs of paint.

This is Lighting Storm, she is twisting her paper towels before we start,
so she is ready when the time comes to use them.
so she is ready when the time comes to use them.

I've got mine all ready.

I marked where my blue will end and my green will start.

Lighting Storm followed suit.

Loosen up your blue with some water, having it very loose helps later on.

Start painting your blue.
Make it more even than I am here.

Oh I hit my mark I switched to green.

Loosen up your green with water.

NOOOOOO!!!!!! don't do this!!
I totally forgot I was supposed to start at the top and paint over the blue.
I totally forgot I was supposed to start at the top and paint over the blue.

See happily I kept on working painting my green evenly...DOH!
Instead start at the top with green go over the blue and paint green down to bottom of painting.
Instead start at the top with green go over the blue and paint green down to bottom of painting.

I was working quickly because you have to get up the paint right away.

See how it made lovely white wave crests.

Then I checked my instructions and realized I had botched it.
So I went back lightly painted the blue and painted over it with green.
So I went back lightly painted the blue and painted over it with green.

Blotted again with the paper towel.

Be sure to turn your towel as you use it so it soaks up the paint well.

Oh no! we had a spill...
Don't leave your paint brushes in the water cup.
It's bad for the brushes and makes the water cup easier to turn over.
Don't leave your paint brushes in the water cup.
It's bad for the brushes and makes the water cup easier to turn over.

Sweet Potato worked slow but sure, so her waves are hard to spot.

After the water disaster, we managed to get some white crests.
When you are done put your painting in a safe place to dry.
Day 3

Squeeze out a large pea size of green, blue, and a small one of white.

Mix the green and blue in a new spot on your pallet.

At the bottom of your white "crests" paint shadows. Think about how the water is moving. I thought it is rolling so I curved some of my strokes.


Some places the water is just bobbing back and forth these strokes were more straight.


Here I thought the water is rushing back from the shore, so I made them "rushing" and straight.

O.K. I think I found all the white crests. Now I am ready to move on to the next step.

Mix your white and blue to make a light gray.

Keep adding white to a tiny bit of blue till you like the color.

It is really light but if you look carefully, you can see how I'm highlighting the white crests.

Keep working until you are happy with your painting.

Sign your work and put in a safe place to dry.

Off they go!

Such concentration.

How much do I squeeze out??

Off they go.

Lighting Storm's painting got the full glass of water poured on it. We still managed to makes some wave crests but her painting is not as "rolling" as the others.


Is that a smile!


What I like is everyone followed the instructions,
but all the paintings turned out differently.
Don't worry if your painting looks completely different, remember it is unique like you!
but all the paintings turned out differently.
Don't worry if your painting looks completely different, remember it is unique like you!