Showing posts with label painting trees. Show all posts

Friday, June 28, 2013

CTC Unit 33 Watercolor Tutorial

Ok I've been Promising and Promising to get this last tutorial up. Can you tell I have trouble finishing things? I actually edited these photos on the airplane on May 18! I had high hopes of getting this up ASAP but alas my life got majorly in the way. I thought I could do it while at my parents house in early June but you see there was this large stack O' wood that was just dying to be split and I couldn't resist splitting it.  

I love how this painting  uses orange peels. 
DAY 2
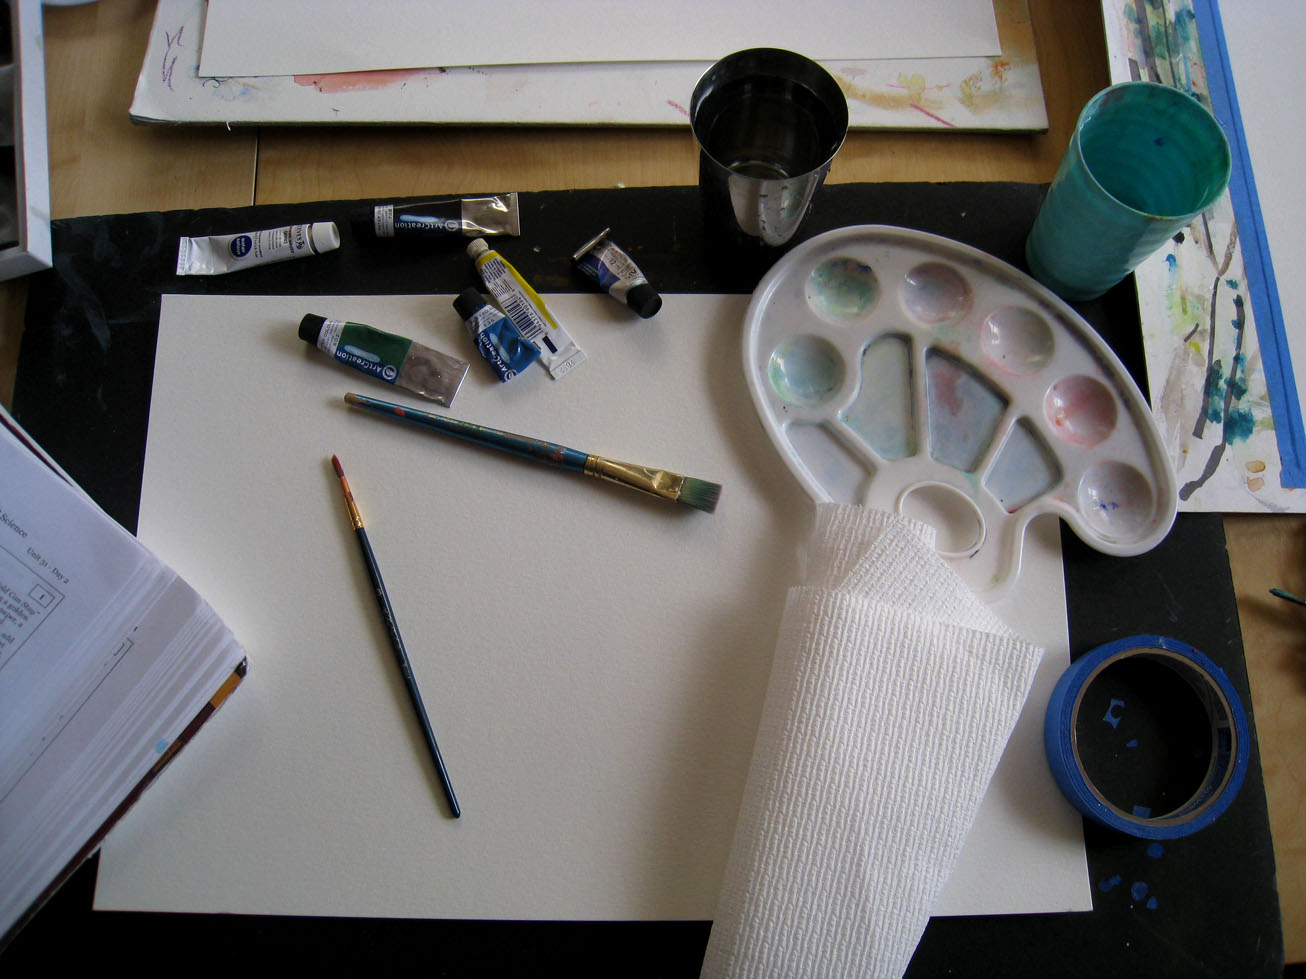
Here is what our supplies looked like, you will also need a sea sponge for day 3.
 I have enhanced my stonewall line in photoshop.
don't make your dark like this make it light and fluffy. I made mine bumpy,
 because stone walls are not usually perfectly straight.  
 Wet the paper. 
 Blot the paper. 
 Paint an even blue sky. Note how I'm using the side of my brush to follow the stone wall edge. 
 Ahhh I like that. 
Mixing up some grey. I used just a tiny dab of black.  
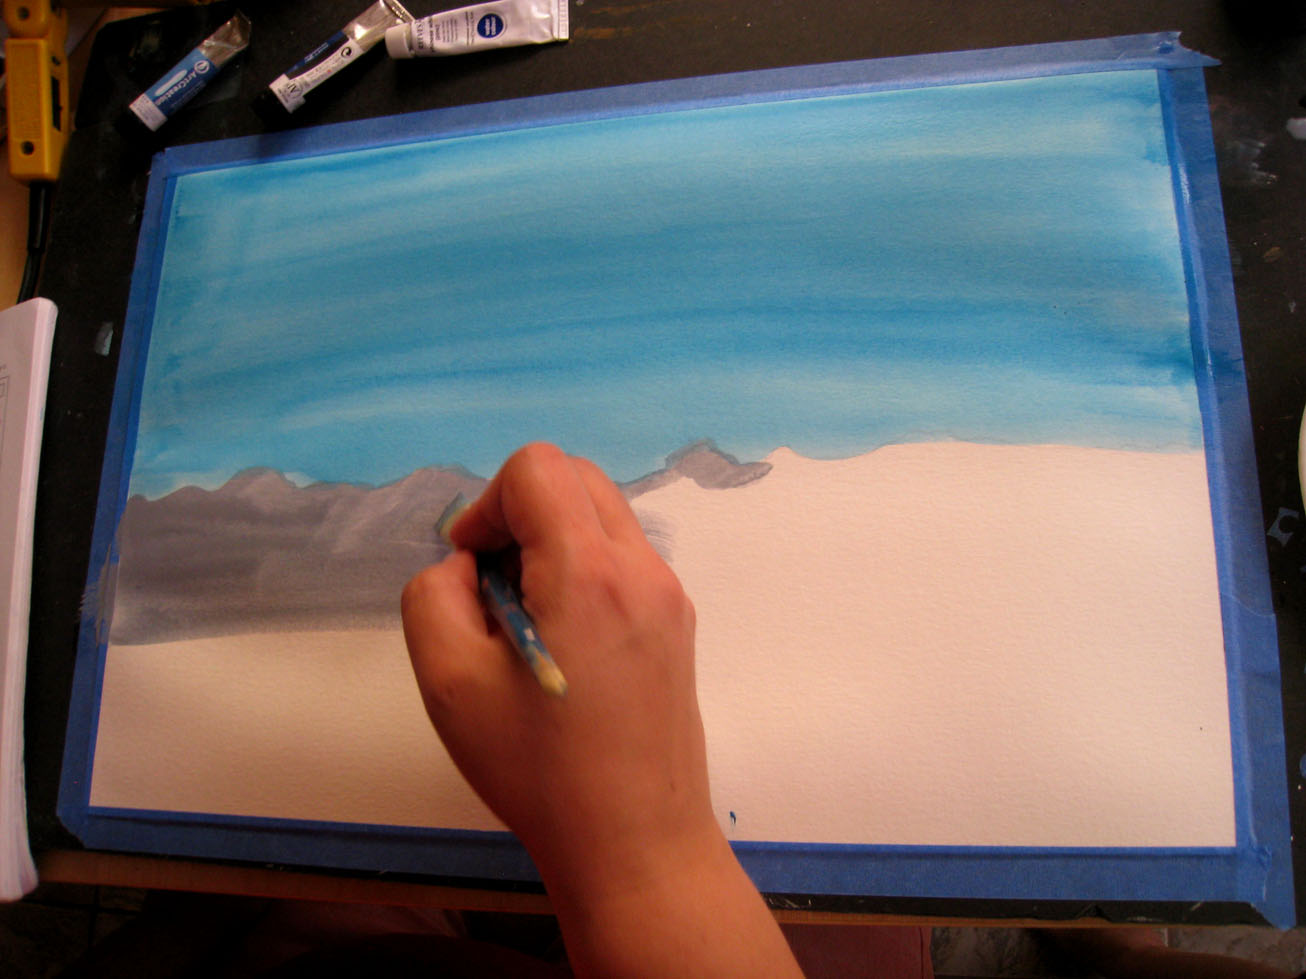
 Fill the grey in the wall. 
 I worked my way up from the bottom with a spring green. 
Set your painting aside to dry in a safe place. 

DAY 3
Add a tree 
 Don't forget to add details in to the limbs. 
 Sponge on leaves I used a light green and then added a dark green over the top. 
 Here I'm mixing up several shades of brown, orange, and grey. 
Rip or cut out a small stone shape out of the orange peel. Work carefully around the tree and you don't want to overlap the trunk with stones.  
 I did a bunch of the same color by painting the piece of orange peel 
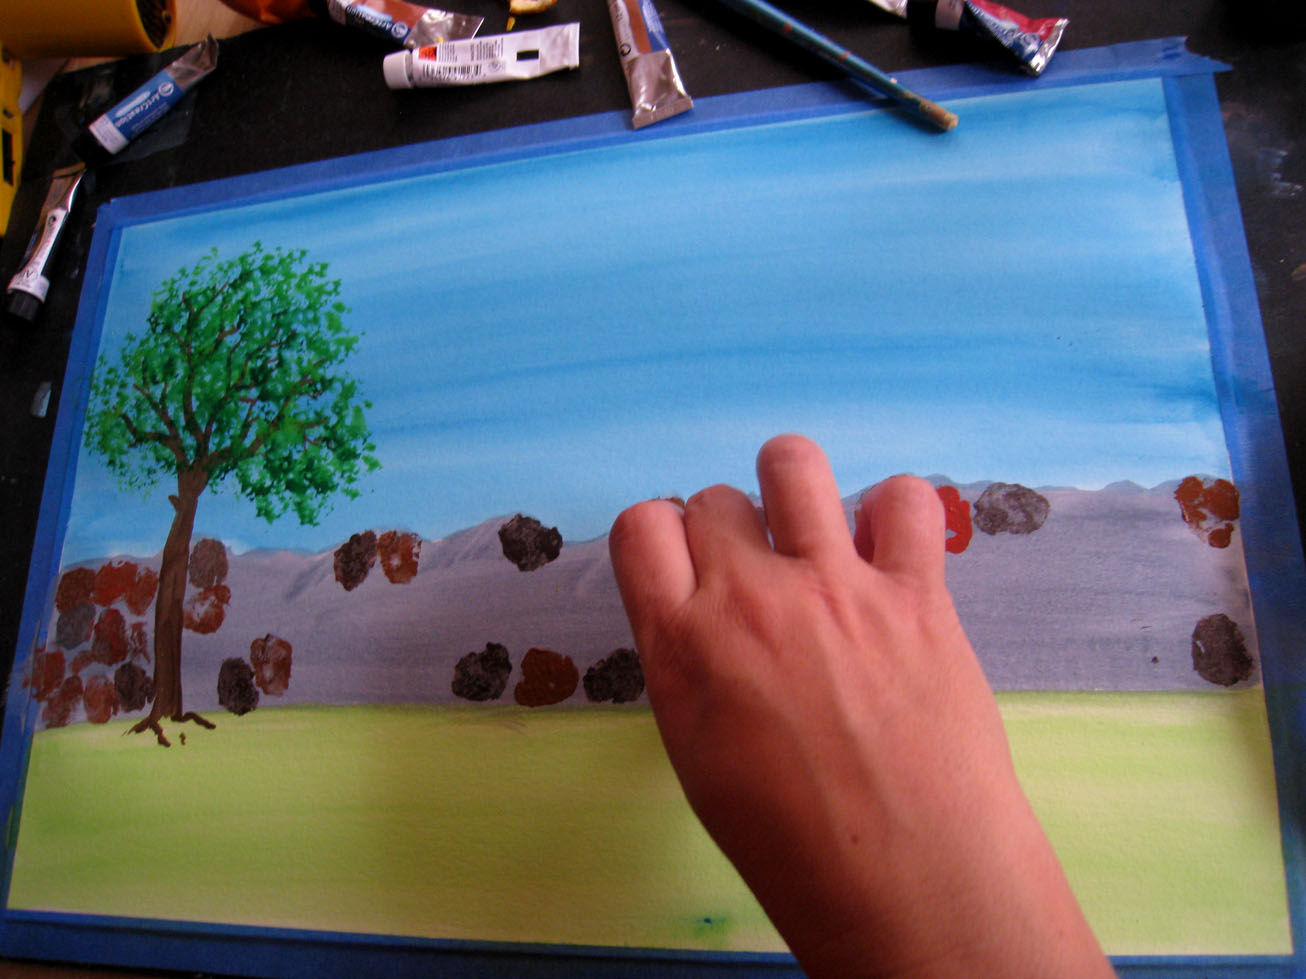
 I kept adding in stones in a semi random pattern. 
 Experiment, I would add grey to an orange, Some times the leftover paint would create a new color on the orange peel when I would paint it with grey or brown. let this happen it helps your painting feel more realistic. 
 of course I dropped my peel! Right on the light green Grrrrrr... Well I can fix that just wait and see. 
 Almost done just a few more stones.  
 Oh look we need to paint grass around the wall I know just where to start!
That will get rid of my mistake. 
Ahh all done.  


Friday, May 10, 2013

Watercolor Tutorial Unit 31 CTC

Oh the days are just flying by and I've had these pictures for a while. I've been procrastinating because there is only one more painting after this one. :-( last 2 weeks of school are poetry Memorization. 
I hope like me you have had a renewed interest in the sky. Last night as my daughter and I were walking at dusk we discussed how we would paint the sky.It was all grey and pink and orange.
So here goes Day 2 

 Tape down your painting if you want it to dry flat. 
 here is how I set up my pallet. I read though the directions first in hopes that maybe this time I wouldn't make one mistake. Look how I paired the paints in the way I would be mixing them. 
Mix up your paints prior to wetting your paper. 
As you can see I didn't mix them up first but I struggled to keep my paper wet here. It wasn't that dry of a day but I think overall my paper is as dry as a flattened sponge 
 Brush paper with water.
 Blot with Paper towel. 

 Paint an even light blue sky. 

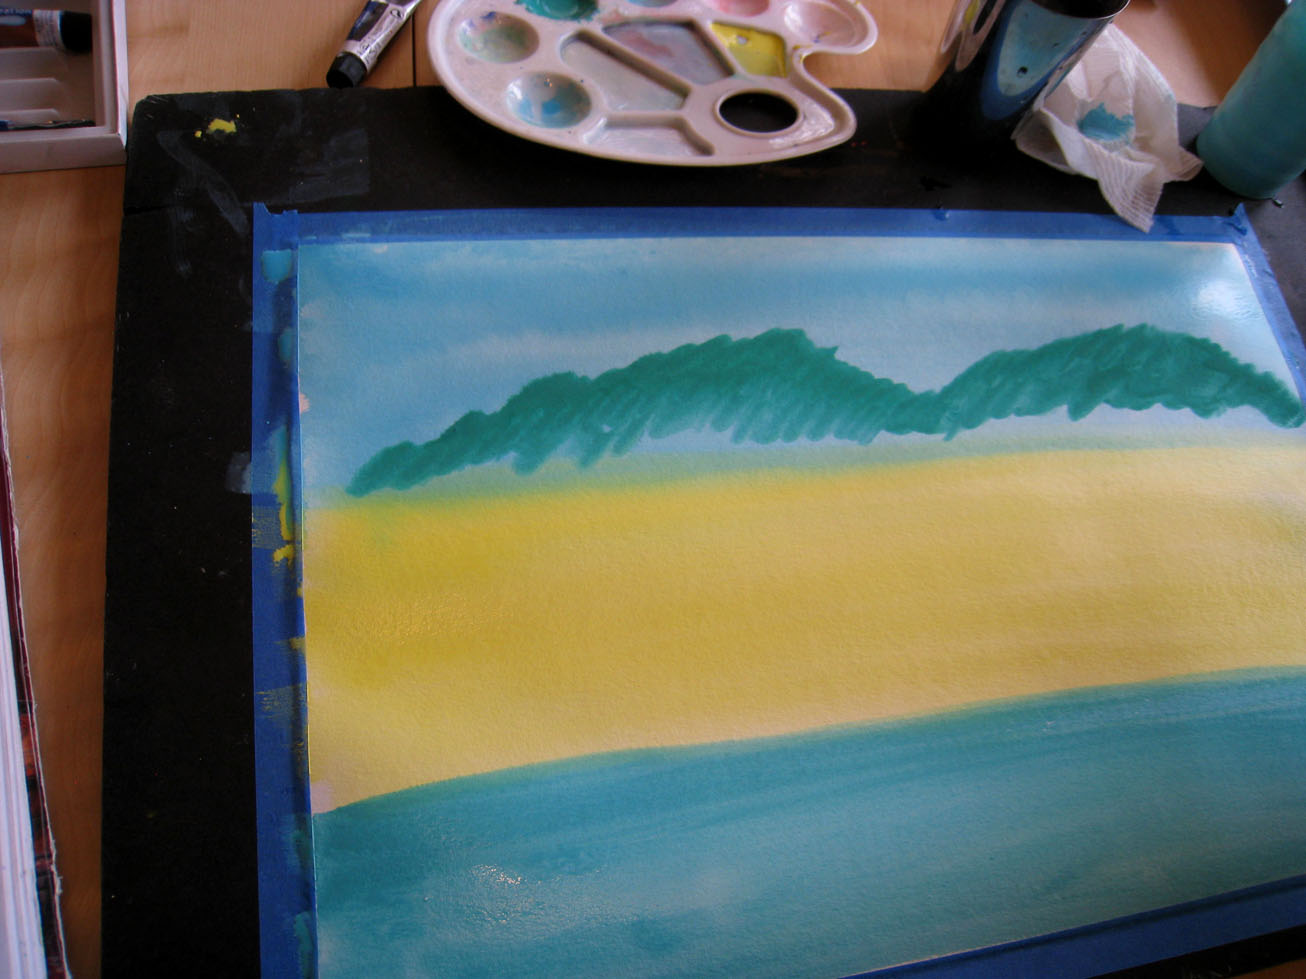
 Now do the yellow. 

 Add some blue into your light blue wash to make it more intense. 

 Almost ready for the "hill" smudges. 

 Mix up blue and green 

 Paint in some smudges in a hilly formation. 

Ok all done for today. Put your painting in a safe place to dry. 
 But since we're blogging. I'm going to dry mine super quick with a blow dry set on low. 

 Day 3

 with my round brush I mixed up a green paint. 
 See yet another mistake. Somehow yesterday I dripped one dot of blue wash on my yellow!
I'm gonna have to cover that up! 
I didn't like my green it was too close to yesterdays So I fiddled with the color a bit. 
 That is better. 
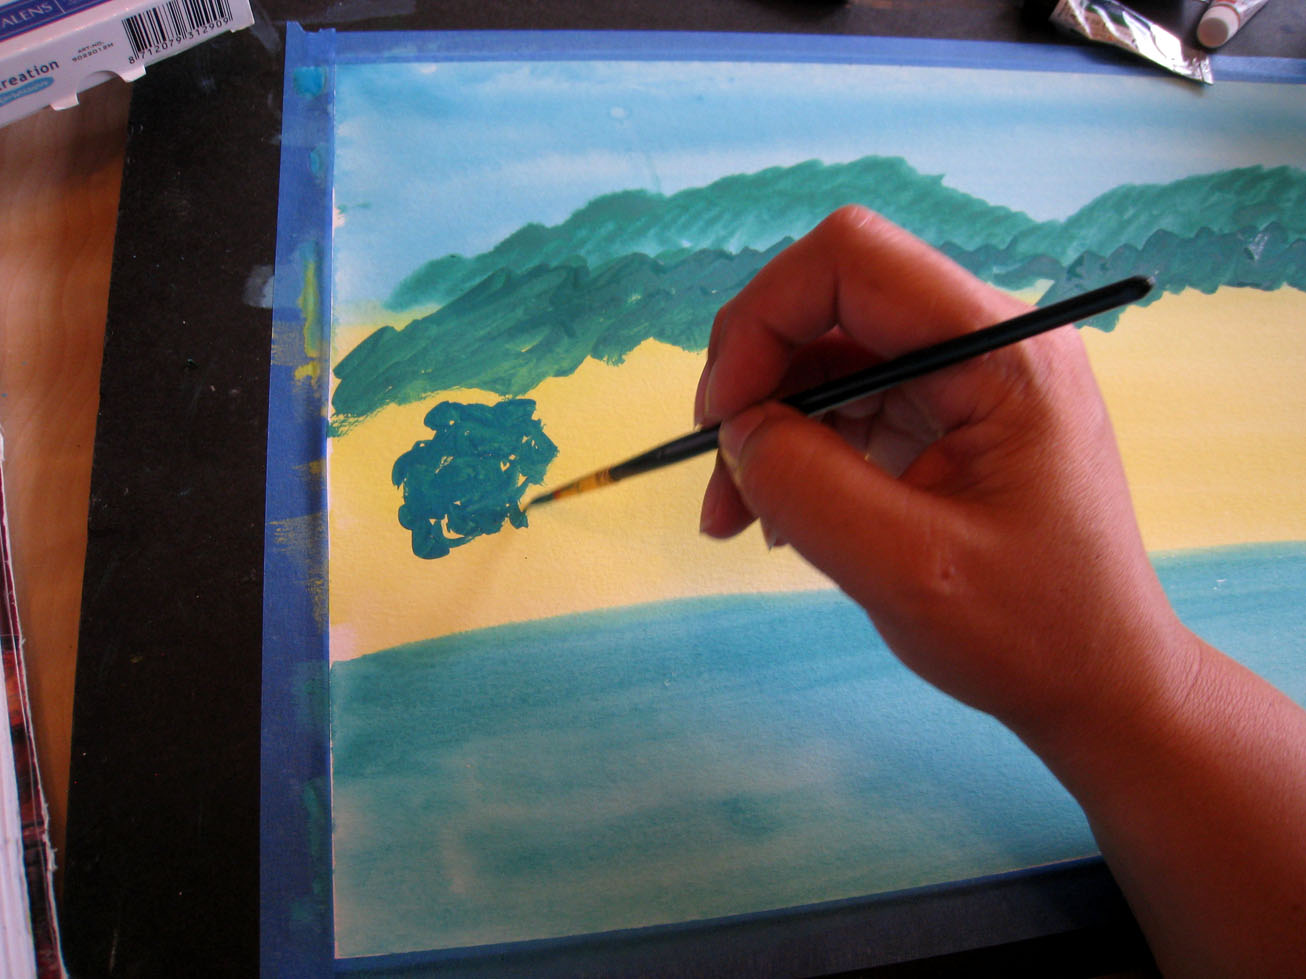
Made some smudgy trees.  
Don't use your tip to make smudges it will take forever and gives them to much detail.
Here you can see the left side is made with the side of the brush and the right side is made with the tip. Experiment and play around with your brush to see what it can do.  
 Ahh thats better see how almost all of the side of my brush is in contact with the paper. 
 Now add more blue to your paint. 
 Make bushy trees. 
 More Bushy TREES! 

 Now add ea touch of black paint to get a blueish green.
Be careful with the black a little goes a long way. 
 Now paint more trees with leafy tops. (That means let lots of yellow back ground to show through.) 
 See lots of the background is peeping through. 
 Ahh my masterpiece. 
 here are photos of my kids painting some follow the directions exactly others follow their heart... 

Ahh uniquely Sweet Potato 
This one feels very Dr. Susseish (if that is a word!).

Well next Tutorial post will be the last for this school year I can't wait to see what next year brings!