Showing posts with label Creation to Christ. Show all posts

Friday, June 28, 2013

CTC Unit 33 Watercolor Tutorial

Ok I've been Promising and Promising to get this last tutorial up. Can you tell I have trouble finishing things? I actually edited these photos on the airplane on May 18! I had high hopes of getting this up ASAP but alas my life got majorly in the way. I thought I could do it while at my parents house in early June but you see there was this large stack O' wood that was just dying to be split and I couldn't resist splitting it.  

I love how this painting  uses orange peels. 
DAY 2
Here is what our supplies looked like, you will also need a sea sponge for day 3.
 I have enhanced my stonewall line in photoshop.
don't make your dark like this make it light and fluffy. I made mine bumpy,
 because stone walls are not usually perfectly straight.  
 Wet the paper. 
 Blot the paper. 
 Paint an even blue sky. Note how I'm using the side of my brush to follow the stone wall edge. 
 Ahhh I like that. 
Mixing up some grey. I used just a tiny dab of black.  
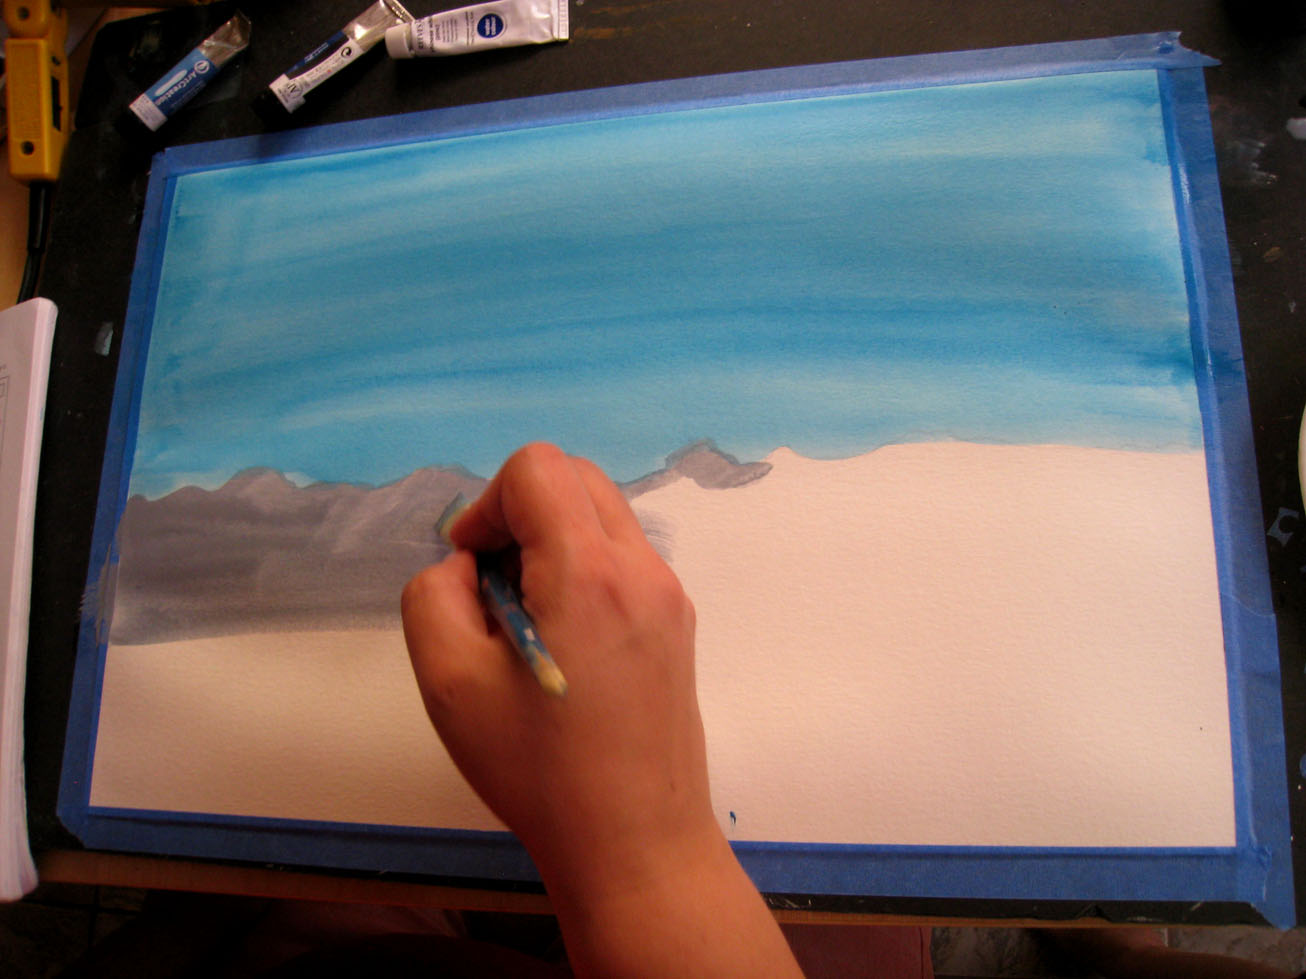
 Fill the grey in the wall. 
 I worked my way up from the bottom with a spring green. 
Set your painting aside to dry in a safe place. 

DAY 3
Add a tree 
 Don't forget to add details in to the limbs. 
 Sponge on leaves I used a light green and then added a dark green over the top. 
 Here I'm mixing up several shades of brown, orange, and grey. 
Rip or cut out a small stone shape out of the orange peel. Work carefully around the tree and you don't want to overlap the trunk with stones.  
 I did a bunch of the same color by painting the piece of orange peel 
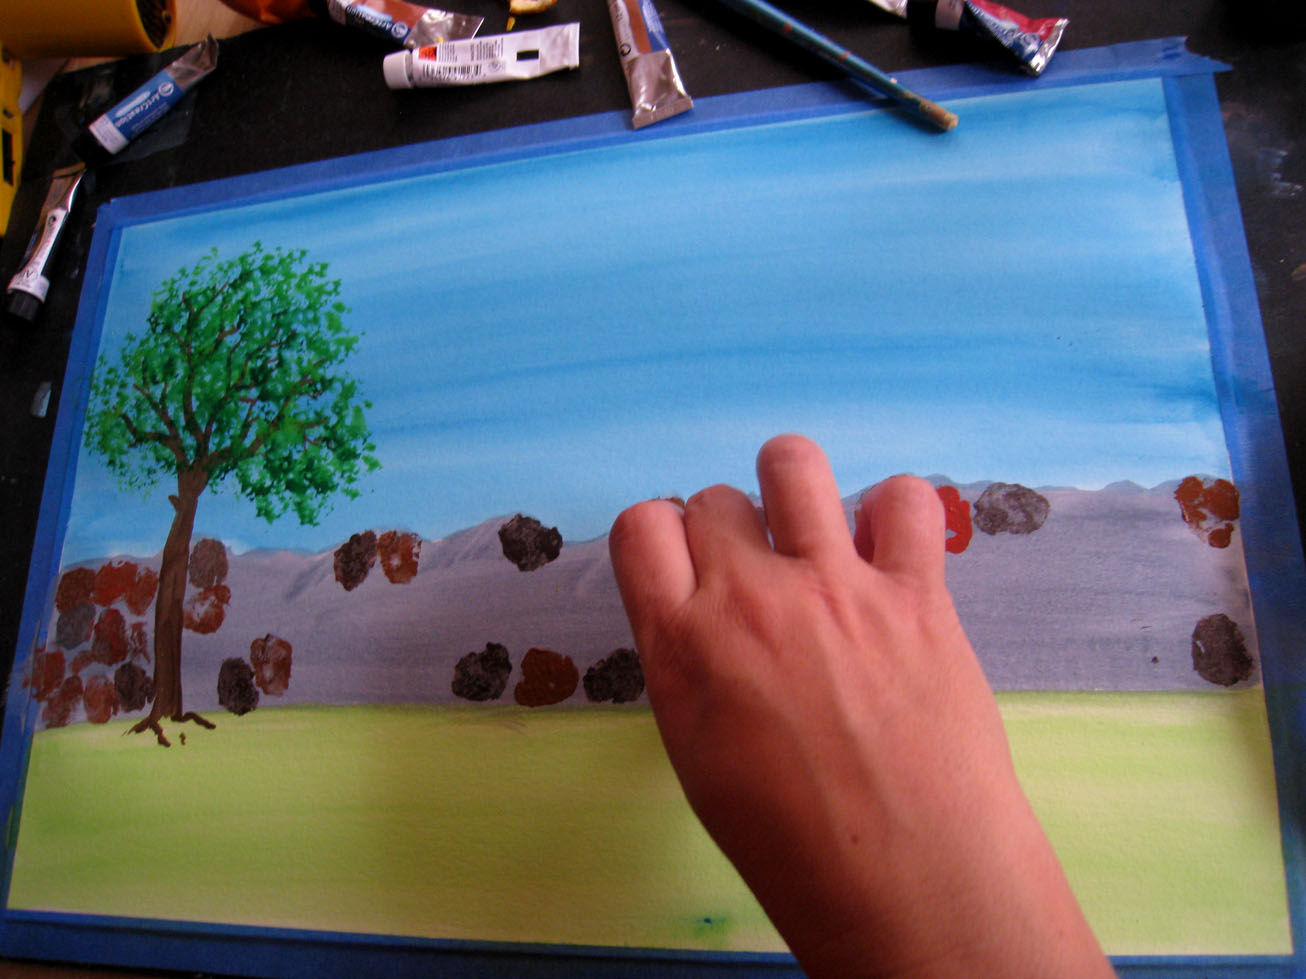
 I kept adding in stones in a semi random pattern. 
 Experiment, I would add grey to an orange, Some times the leftover paint would create a new color on the orange peel when I would paint it with grey or brown. let this happen it helps your painting feel more realistic. 
 of course I dropped my peel! Right on the light green Grrrrrr... Well I can fix that just wait and see. 
 Almost done just a few more stones.  
 Oh look we need to paint grass around the wall I know just where to start!
That will get rid of my mistake. 
Ahh all done.  


Thursday, April 11, 2013

CTC Watercolor Tutorial Unit 29


We will be painting a delightful painting today. Please note I think the clouds are not supposed to go down as far as ours did. Leave about 2 inches above the horizon cloud free. 


Day 1
 You need a pallet with reservoirs this week.
If you don't have one use a small container to make the blue and yellow paint.  
Tape it down. 
Sketch it out... oh you can't see my clouds let me photoshop it.  
 Sketch the clouds in lighty. 
 Add lots of water to your blue, choose light or dark blue as you desire.
Don't forget you only need pea size amount of paint. 
 Mix up a lot of wet watery blue. 
I recommend using the side of your brush to sketch in the clouds. its ok to allow texture to enter your sky. With texture the painting is more interesting than if it is one flat color. 
Keep going letting the edges of your clouds be hard and soft. 
Ok that bi is done! 
There is Sweet Potato, I really like her clouds today!
Mix up some watery yellow like you did the blue. 
Allowing the paint to pool and form natural puddles in your clouds
also helps give your clouds a real feel. 
Don't fill the whole cloud in! 
Paint in the brown horizon. 
Almost done!
Sweet Potato did it in her own order... 
Here is Little Miss Sunshine playing catch up after taking these great photos!
Don't forget to store your painting in a safe place
Time approx. 20 min. total.

Day 2

 Using brown paint paint 4 telephone poles large to small.  Thick at the bottom and thinner at the top. My photographer got so excited about her painting she forgot to take pictures of me LOL! but its ok I got lots of the kids painting.


 Sweet Potato was really nervous  about drawing straight and correct poles,
so I sketched in a start and stop point for each pole.
I'd like to comment here on helping our kids in times like this. Often they want their painting to look perfect and it just can't be achieved on their own. They get disappointed and frustrated. As long as the child doesn't feel like you're violating their art, a sketch in item,  a dotted line  or just 2 dots showing them where to picture the line in their mind, can make tremendous differences in how the final product looks. They are so much more happy with their work because you gave them a hand over that hump.
 It's beautiful!
Little Miss didn't space out her poles correctly so she just kept adding them to help the perspective.
Paint in thin white lines to give your ground highlights. I followed my dark and light paint lines.
And here is mine my own my precious painting... 

Friday, February 8, 2013

CTC watercolor Tutorial Unit 22

DAY 2
So today we are looking at things from a new perspective. If you were a bird and looking down on the tree tops what would you see??? Lets find out.  
 All supplies are listed in your book. 
 Tape down your paper if you want it to dry flat. Remember the rough side is  up. 
 Start out with a small amount of paint, but we did discover this painting is a paint hog. It gobbled up a whole tube! Of course the fact we had lots of guests today contributed to the excessive use. 
 Wet your paper. 
 Blot dry.
 Start off very light. 
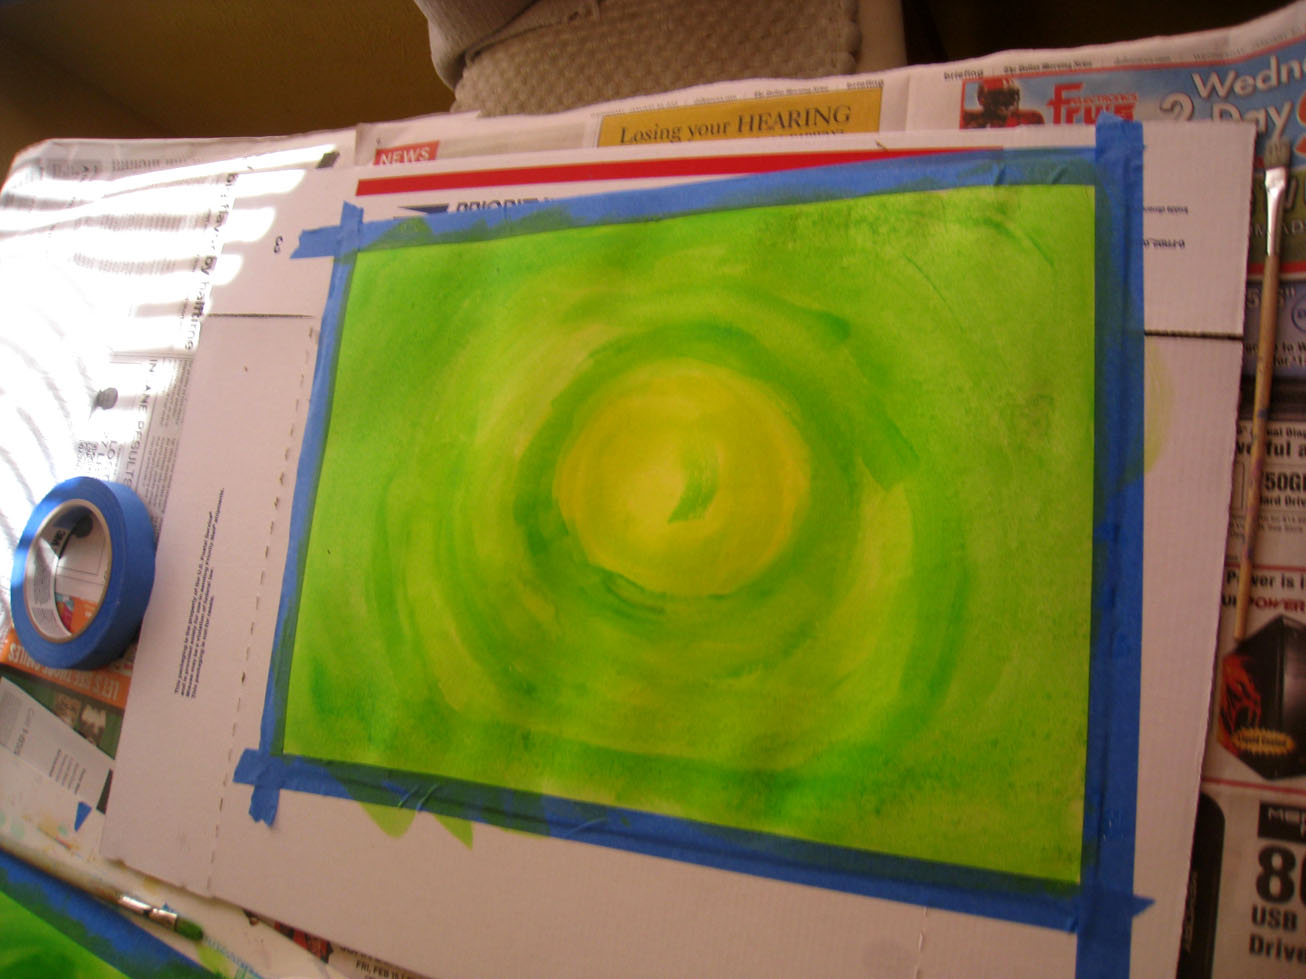
 Make a center circle. 
Add in a bit of dark green.  
 Go around your circle letting the paints meld is fine. 
 Add in more of the dark green. 
 Keep working your way around the green bulls eye. 
 When you get the edge just keep following the curve.
You will be tempted to make up an down stroke to fill in... DON'T!
Keep doing the circular thing. 
 I worked one side then the other. 
 Now finish the other side. 
 Set aside in a safe place to dry. 
 We were joined by Lullaby and Lighting Storm today. 
 Off they go. 
 I barely had enough flat and wide brushes. 
 She is saying this is my drinking water don't stick paint bushes in it.
 They start the bulls eyes. 
 Look how nicely they are sharing :-)

 Every one has their own way of doing it. 
 Such concentration. 
 Uh Oh Lighting strikes twice, lighting knocked over her glass. Bwahahaha! 
 Almost done. 
 Here Sweet Potato didn't follow the curve see how it looks odd... 
 Lighting Storm is ready to fly! 

Day 3 
We started by crumpling up our paper towels
Crumple, crumple, crumple
This is what we need for today.
Add water to your dark green paint. 
Look how crumpled this is. Were good to go! 
Dip
Dab dab randomly but in clumps
Make clumps of tree leaves.
So I have the start of clumps. 
Mix in a bit of blue paint. 
Dab over your clumps. 
Here we are, I got a bit excited and dabbed everywhere. 
Now for your brown paint,
mix in a bit of water so its smooth.
Now add tree limbs. 
Off the kids go. 

 This was a full tube of paint. when we started. Oh my! 
Connect any outlying clumps of leaves. 
Everyone has a different approach

See her tree is all connected. 
Sweet Potato thought she had to make trunks. 
Little Miss Sunshine made a central trunk.

That's all for today! Don't forget to clean up your mess!