Today we do a landscape of a mountain. My kids loved this project.
Yet again as you progress you think to your self will this work? Will this really look like a mountain when we are done? To help I printed off a picture of a mountain from the internet, for the kids to look at. This helped them (and me!) get an idea of what we are supposed to be doing. My kids fresh from seeing The Hobbit declared we were painting the Lonely Mountain. We did read The Hobbit as our fantasy read aloud, then they went and put on the Misty Mountain song as background music. I'm tempted to put a Red Dragon looking for dwarfs flying around it!

Day 2


Sketch your mountain and foot hills.


Notice I did not put my Mountain dead center of my paper. I don't want a symmetrical painting I want it to be interesting and have movement. So putting your focal point left or right of center actually makes it look better.

Feel free to squeeze out big blobs as we will be using plenty of paint this time.

Mix all your paint up before hand.

I have to admit I used a bit of black in my blue to make it a cooler blue for my Misty Mountain.
It's as easy as paint by numbers today!
It's as easy as paint by numbers today!

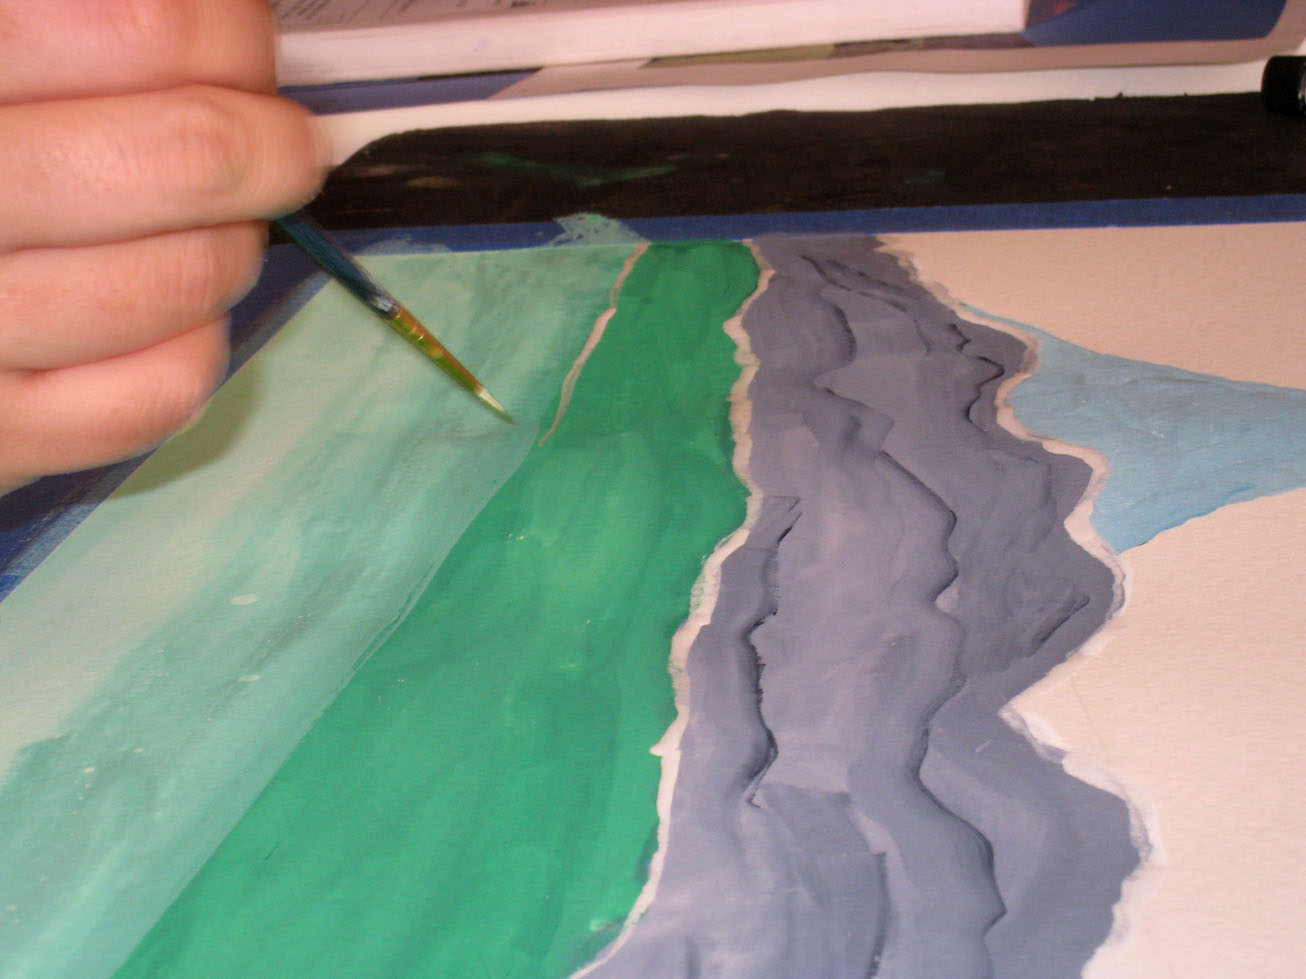
Now the gray foot hills.

Paint away.

Uh oh! some of the black paint ended up on the edge of my brush. But I loved how it made ridges in my gray I don't think I could have done that on purpose. I just let it be instead of working it into the gray.

You may need to wet your green if it has dried out.
Pulling the green into a bit of white helps control the shade.
If you want it darker pull a bit more green into it with the edge of your brush.
If you want it darker pull a bit more green into it with the edge of your brush.

Painting away!

That is done.

I needed to add more white to my green. I used a lot of the original light green paint so
I gave myself plenty of white to work with.

Now it is all mixed in!

Carefully painting the edges.

Sweet Potato has drawn and erased and redrawn her mountain... now she is happy and starts painting.

Little Miss Sunshine has the tape all stuck together!

This is fun Mom, and easy!

Ok I'm all ready to set it aside till tomorrow. Put it in a safe place!
Day 3

All we need today is small round brush.
My advice for today is take your time don't rush and enjoy the process.
My advice for today is take your time don't rush and enjoy the process.

For today you do not need big blobs of paint start small esp with the Dark Blue, and the Light Blue.
I choose a forest green since we are doing trees today.

Add about a 1/4 teaspoon of water to your white paint to make the first step.

Paint it on your edges to soften them.

Don't scrub it in just lay it down.

Take your time.
Do each layer.

Kids are keeping up!

Little Miss Sunshine didn't wait for day 3...

Now I started putting in my trees.

A few at a time

Here I'm suddenly thinking of forest elves.

its gonna have to be a big forest if it's gonna be the edges of Murkwood.

Oh my that will take forever! Maybe it's not Murkwood. maybe its the other side of the mountain.

Keep mixing the green as the instructions tell you to.

These trees I made slightly bigger since they are "closer" to me.

Trees! & more Trees!

Some over here, some over there.

Mix the paint again to get a lighter Green.

These trees I dabbed on making them even bigger, having a look at a good photo of a mountain landscape can help you know where and how to place these trees. Don't worry if they are a bit messy it's ok. This isn't meant to be a painting you will be looking at up close.

More trees marching on .
My hubby like this one too, but asked me to put in a sky I added some clouds on mine.
I'm still contemplating adding Smaug.
I'm still contemplating adding Smaug.
But here ends Carries instructions.

Little Miss Sunshine's final work of art.

Here is Sweet Potato's I really like this one.
No comments:
Post a Comment