Unit 25
A very fun wet working watercolor, we are doing clouds on wet. If you can work quickly you can get the cloud effects the first time. If your like us in a very dry environment I'll show you how we achieved similar results after the fact.
Day 1

All your supplies, Please note today we are working vertically.

Prep your paper by tracing the quarter on some masking tape.

Carefully cut out your circle. Like those scissors? I have had them since first or second grade :-)
They are OLD!
They are OLD!

Put the tape down in the upper right hand corner.

If you want your painting to dry flat tape down the edges.

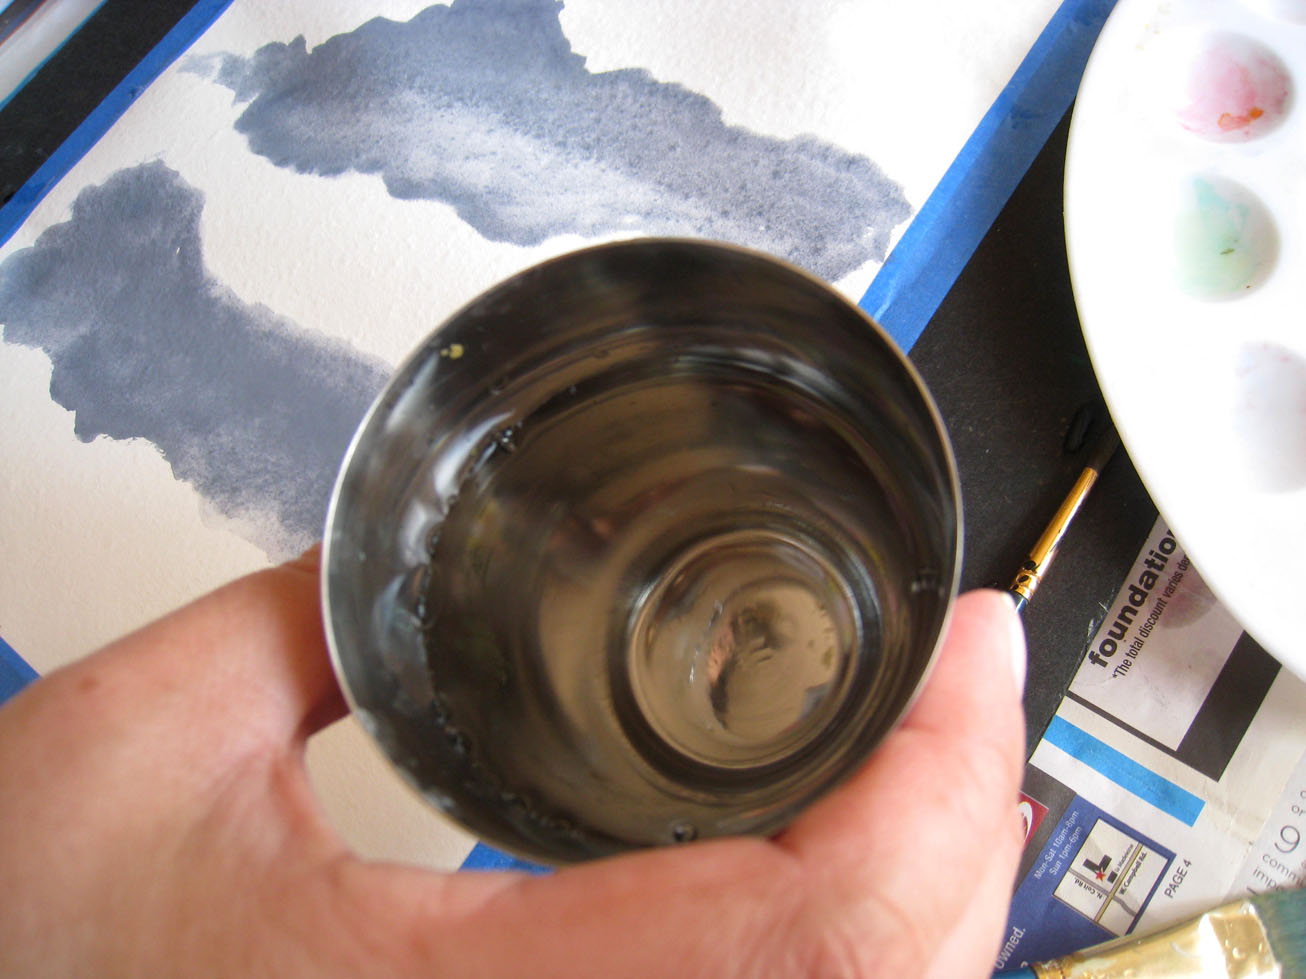
About 2 large pea sizes of Dark blue and a large pea size of grey,
or a smidgen of black and some white to make the grey.
or a smidgen of black and some white to make the grey.

If you need to, this is a good time to mix up the grey.

Wet down your paper... and Now I know why Little Miss Sunshine was giggling like crazy Sweet Potato was making funny faces the whole time.

Lightly dry off the pools of water but leave it wet wet.
Since we are blogging ours dried out to much but have no fear!
I'll show you what should have happened.
Since we are blogging ours dried out to much but have no fear!
I'll show you what should have happened.


Here is Little Miss Sunshine's painting at end of day one.

Here is mine. Put in a safe place to dry
Set up time 5-10 minutes, painting time less than 10 minutes.
Day 3


Make the clouds near the moon lighter. Remember the light of the moon is lighting them up!


If you had painted over your moon the clouds would be blocking the light and the moon itself and it would look really funny right about now.

Little Miss Sunshine painting away.


Sweet Potato making those close clouds light grey.

See how small the dots are, but man they do look like stars when it is all said and done.

My finished work of art.

Sweet Potatoes. Little Miss Sunshine didn't take a finished photo... himm and she is the photographer!
Set up time 5-10 minutes Painting time less than 10 minutes.
this one was a lot of fun and looked really cool!
ReplyDeletethank you!
ReplyDelete