Showing posts with label unit 5. Show all posts

Saturday, September 8, 2012

CTC Unit 5 Week in Review

This week we had 2 digit X 2 digit math problems, I found a few holes in Little Miss Sunshine's math. I'm glad of all the techniques Singapore has to do the math mentally, but I have to admit I plugged her back into Rapid Recall, since each problem took 7 minutes to complete for either of my girls. One because she was just messing with me and the other because she was counting up or doing a number line for each individual multiplication step. I love Rapid Recall it is fantastic for training the children to learn the math facts. Also when the math facts become automatic it makes them so dog gone happy.  It is only 7 minutes a day and after 10 weeks if they have not achieved mastery you can repeat it.  So If your kid is quick they can memories all 4 sets of math facts in less than one year. 
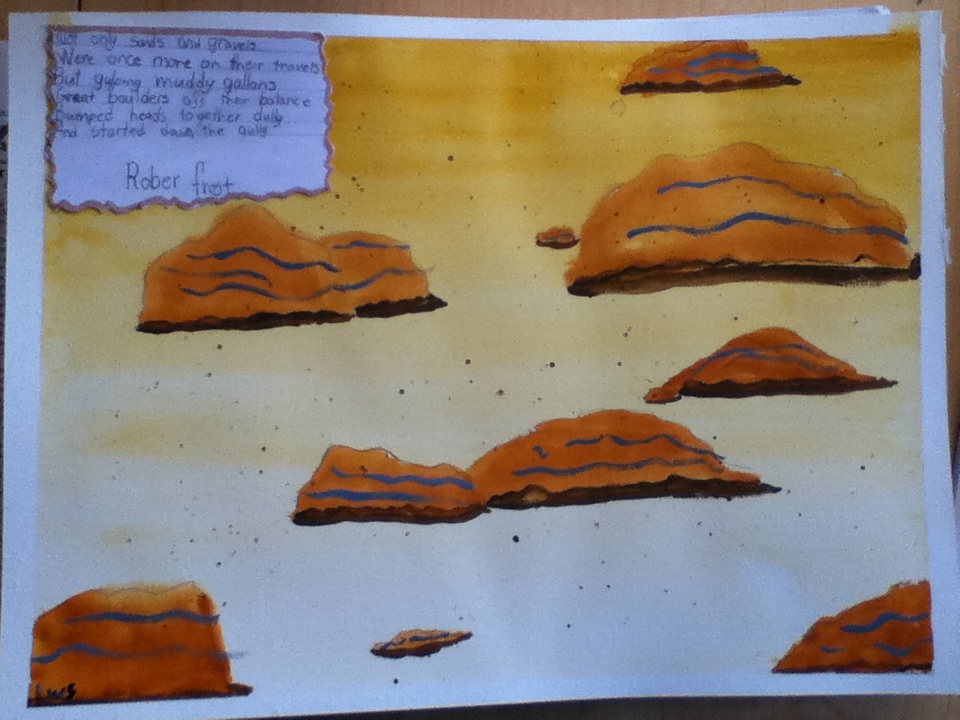
Our Robert Frost paintings. 
 Sweet Potato although terrified of thunderstorms, continues to put lighting bolts on her paintings. Because mom they are super awesome and I love lighting bolts.  
My girls being Whirling Dervishes   
Whirl, Whirl ,Whirl    
Hey mom I'm not dizzy!
Keeping one foot flat on the floor really does help you not get dizzy!
Note booking pages

Science, Little Miss Sunshine made the clay and forgot she used up all the salt in the house so they had to share the one lump of dough. Little Miss used a tooth pick to make the tracks while Sweet Potato impressed them into the clay like tracks. They started to dispute amongst themselves as to which was the better technique.  I love using humor to pop them out of bad behavior. I hollered at them "Girls! Girls! you're both pretty!"  It's a phrase from Mega Mind, one of our favorite movies.  They both cracked up laughing. If you have never seen it here is a clip

This week was tough, homeschooling often makes me frustrated and stressed, rarely does it make me cry. Blogging about it really helped, talking to my mom also helped. I often write posts that I never publish they are unfinished, or just pity parties. They act like a trigger journal for me. When I'm thinking straight I can go back and reread them I see patterns and what is triggering the bad behavior, I spot the days when I've been manipulated. It's very helpful and I can tell I have a lot of growing to do :-)

Thursday I worked in the cafe for the morning, I tasked them with getting all independent work completed before the afternoon. After lunch I set the timer, I controlled my desire to rabbit trail, and taught them the subject matter till it was done, or the timer went off. Anything not completed was declared "homework" and will be done after chores and before free time.  It was sooooooo freeing. After I had taught all my bits I got up took care of my sick Knight in Shining Armor, set aside my teacher hat and put on my helpful Mom hat.

I enjoyed Thursday far more than any other day this year. :-) No tears, no whining, no pity parties, no yelling! Thank's God for helping me. :-) he does answer prayers. 

Friday, September 7, 2012

CTC Unit 5 Watercolor Tutorial

We really had a lot of fun with this painting. Drawing and painting rocks can be challenging. Each step is important in the completed painting. We didn't have pointed ends on our paint brushes so we improvised with a fork. It worked just as well. My girls were complaining a bit when they saw only browns come out of the paint box. Mom it will be ugly and etcetera rather than listen to the grousing, I just made them do it as written. We really liked our paintings after it was complete.

Day 2 
 The supplies are listed in your book but this is what you will need to gather for the next two days of painting.  The backer board and the tape are optional, they're purpose is to hold the paper flat so it dries flat for easier storage. 
 Tape all four sides this gives a nice white margin when the painting is done. 
 I enlarged this photo in hopes that you can see how big I drew my rocks the paper is big! Draw big, little, and medium size. Draw rough and jagged. I don't recommend smooth and flat as it doesn't lend it self to this style of painting. Don't forget to make flat bottoms, it's important!  Before you do this step, please go look at the end of day 1 and see how I purposely overlapped my rocks, and ran them off the side of the paper. 
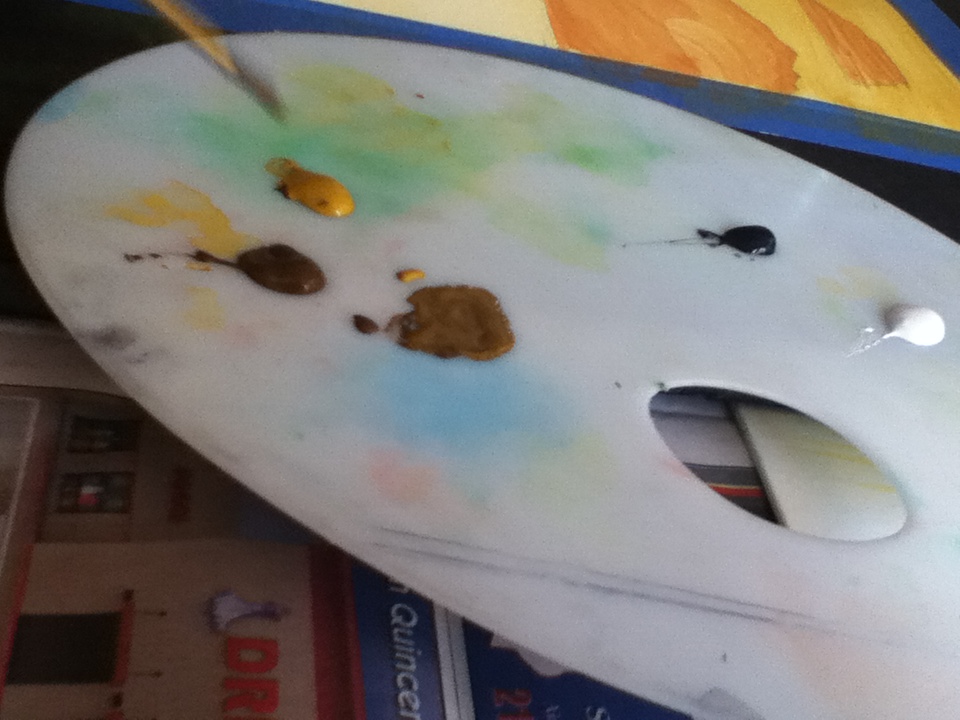
For today we need just 2 colors.
Make your tan slightly larger as I needed more paint than the normal pea size amount. . 
 Adding water to thin the paint is helpful 
 Mix it in and load up your brush. 
 Paint about the top third of the paper fairly dark. 

 Dip and wipe, but I became unhappy with my gradient.
It was getting to light too fast. 
 Ugh I should have used more paint to begin with!  Only the middle of the paper and it's just white now. 
 I reworked the top and middle just a bit after I had followed the instructions to the letter, I spent a bit of time drawing the paint down so I had a tint at the bottom. 
Add water to the brown to make it wet but not runny.
See here I had to get a bit more tan out to mix with the brown.   
 Mix it in. 
Start painting the rocks, it is ok if the paint blurs a bit. 
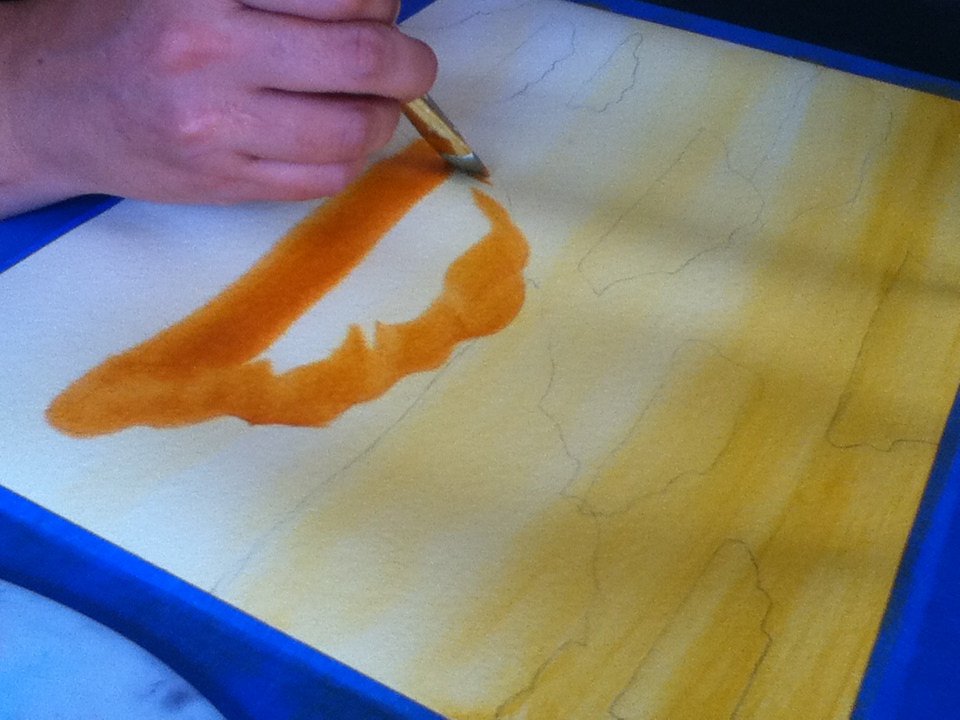
 I outlined my rock using the edge of my paint brush. 

 Notice what a thin line you can make with that wide but flat brush. 
 Following the contours of your rock when you fill it in will give it bumpy rock look. If you fill it in just going back and forth it will give it more stratified look, as if it was made by layers of sediment. 

Little Miss Sunshine got a close up of me using the edge of your brush to follow the pencil lines.  
 I wanted a bumpy look so here is how I filled in my rocks. 
 See how it looks more bumpy now? 
 This one feels flat topped and stratified. So I'm filling it in with a back n' forth motion. 
 Day one ready to be set aside and dried. Please note over lapping the rocks gives your painting depth and anchors them to the image. Those that are over lapping do not look like they are floating in space.  Encourage your child to break lines, run part of the rock off the sides, top, and bottom of the painting.

lets see how my girls did. 
 Back ground painting in progress... 
 MOM what are these blacks specks all over my painting?  Those are left over eraser dust. If you do erase your rocks to make them better, go over your paper with a towel and brush off any that might be clinging.  
 Sweet Potato went  for a dabbing motion to fill in her rocks. 
 Little Miss Sunshine is making bumpy rocks. 
 A mix of techniques here, it makes for a more interesting painting. 
 Little Miss Sunshine made some really tiny minuscule rocks. She found it hard to paint them with the big brush, but she was able to using just the corner. 

 Here is that same big bush but the angle makes it look small. 
 That is one tiny rock! 
Little Miss Sunshine says I should have made them bigger that was hard!  
Put away your paint cleans your brushes and clean up. Put your background in a a safe place to dry.  
If you leave your brushes in water and do not clean them up right away it gives them a perm! On the left are Moms best beloved brushes, On the right are some the kids have had for a year. The curve in the brush can really effect how the paint lays down on the paper, so if they get too wonky it is worth replacing them.  
Taking care of your brushed helps make them last a long time. 

Day 3
 Here is what you need to finish your painting. Add in a paper towel. I'd have had one pictured, but we were out of them! 
 I didn't have grey so I put out white and black. 
Add a bit of tan to the dark brown.  
 Mix well. 
 I decided all my shadows needed to go to the right. Decide which way you want your shadows to go. If you think you may forget midway, you can draw an arrow to remind you on your blue tape. 
 Add in your shadows make them as long as you like, do keep them going all in one direction cause shadows act like that. 


 All the shadows are done now for the detail work. 
 For this step use straight dark brown. 
 Feel free to wiggle your bush a bit as you lay the paint down. You really don't want to have a perfectly smooth line at this point. 
 Wiggle Wiggle Wiggle
 More Wiggling
 Putting the dark brown above the lighter brown shadow really helps define the edge of the rock. 
This rock had a natural curve here so I followed it.  
 Making grey... In this case I didn't want a really dark grey so I started with a pea size white and  the head of a pin size bit of black. See how little black I have, a little goes a long way! 
 Wow that is grey but I think I want it a bit darker. 
Here I am adding a 3rd head of a pin size bit of black. Then I was satisfied with the color. 
Rinse and dry your brush before you paint the next step. Use a rag, a paper towel or blot it on the newspaper you put down to protect your work surface. 
 With your dry brush paint on streaks of grey. It is ok for the brush to not give a perfectly wet line of paint. It's ok if it looks like your are drawing with a piece of chalk. That textured look adds depth. 
 My bad... misread the instructions and tried to scrape the grey, oopsie!  When it didn't work I went back and reread the instructions.  I found my brush was not pointed enough to scrape the paint off. 
 I resorted to a fork, that worked! 
 I tried to add highlights where the rocks over lapped to help the feeling of distance. I love this idea to add highlights and glints that rocks give off. 
 Ok are we done yet??? No not yet! More fun awaits us. 
Add a few drops of water to your brown 
 Tap your paint brush with your hand and you will get tiny drops of paint (raindrops!) on your rocks. 
 I added a whole lot more this was such fun! 
 Let see how the kiddos are doing. 
 Wiggle Wiggle Wiggle 
She decided to Dab, Dab, Dab. 
When you are done, clean and put away your supplies. Put your painting in a safe place to dry. 

Day 4 
 My finished painting. 
 Sweet Potato's painting, those are lighting bolts. 
Little Miss Sunshine's painting.