Well its good to be back again after a 2 week break :-)
No Watercolor Tutorial weeks 8 + 9.
Here is what our supplies looked like for the whole project.

Little Miss Sunshine did a great job putting my tape down.
This project took us 3 tries to get it right!
This project took us 3 tries to get it right!

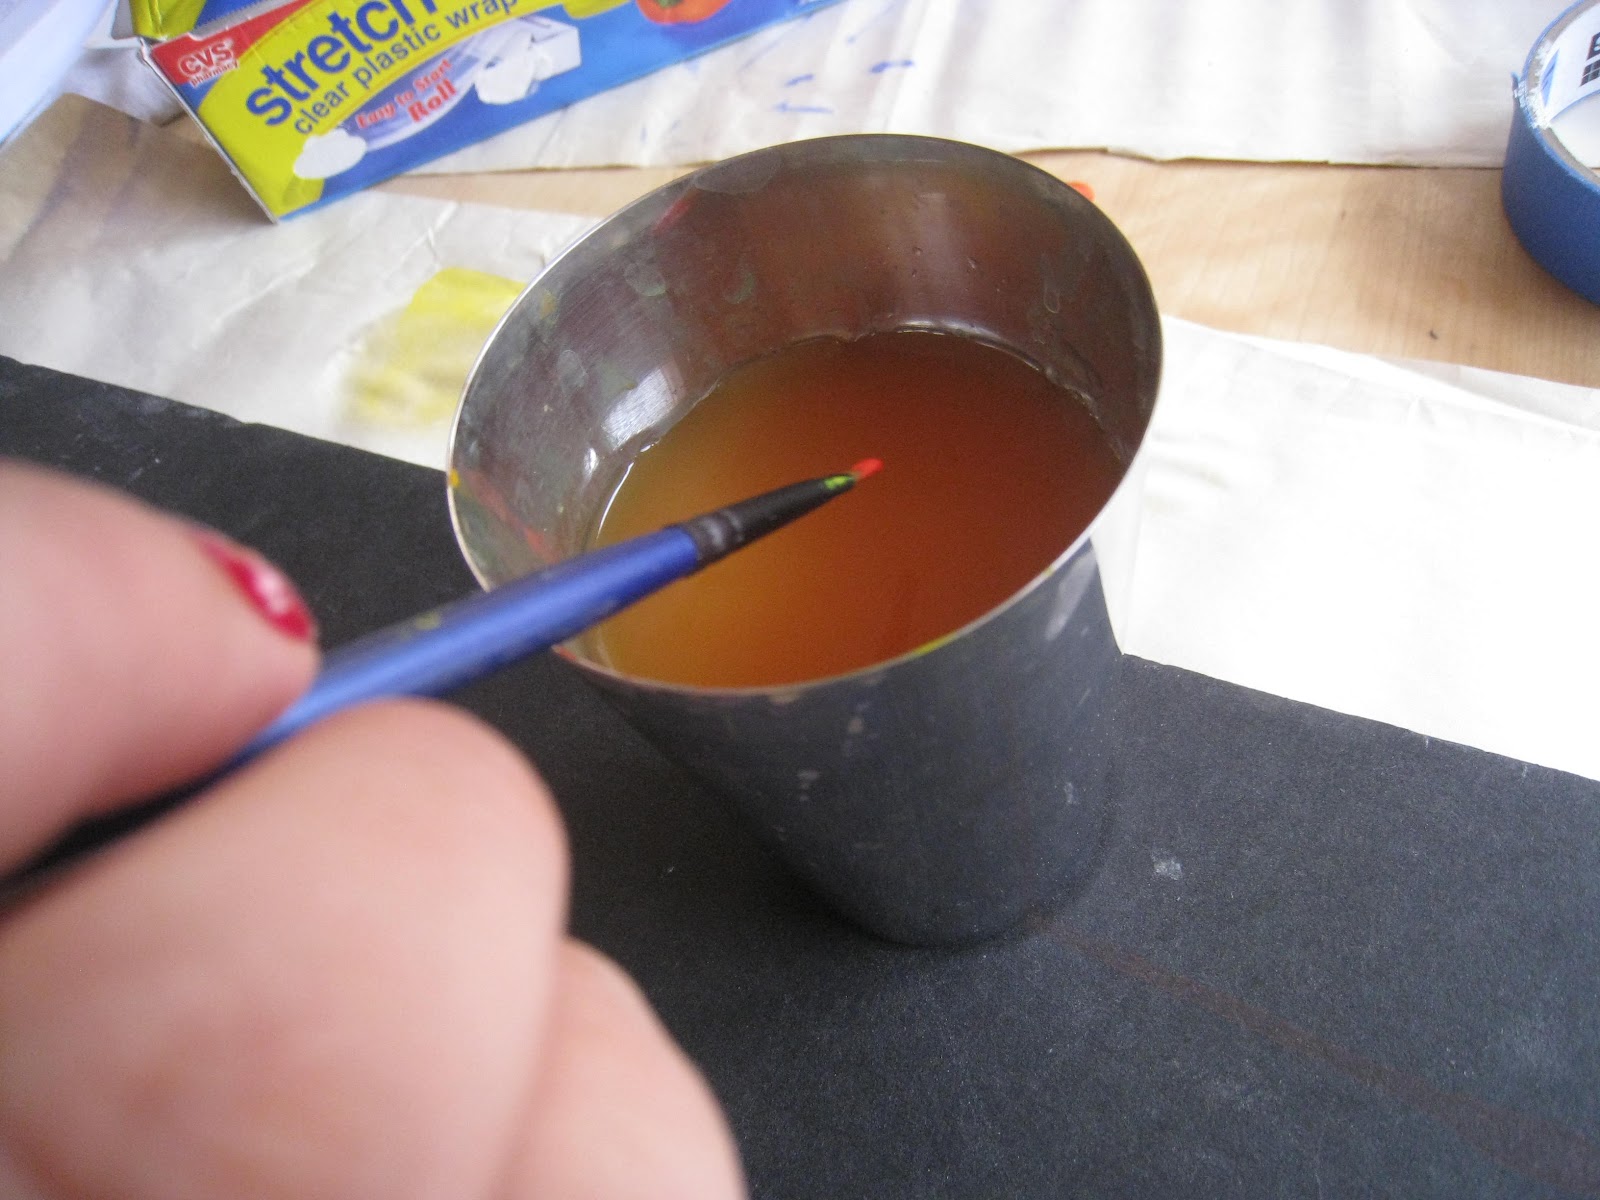
We do not have orange as a color in a tube,
so we mixed one up before we started.
As always start with a pea sized amount as you
can't put the paint back in the tube.
so we mixed one up before we started.
As always start with a pea sized amount as you
can't put the paint back in the tube.

I tried this with my smaller flat paint brush and it did not blend as well as it did with the big ol' painting brush

Mix your paint with water and it good and wet.

A few cross strokes and a few vertical (dipped in water).

The paint started to blend already

Get the red pretty wet before you lay it down.

See how the colors are melding. Now stroke in your orange.

After I added the orange there is not much white left.

See how wet it is? Tilt and move your painting to remove any white spots.
Confession time: after 3 minutes of wiggling my painting around and dripping paint on the floor.
I daubed the one white spot I had left over with wet orange paint.
Confession time: after 3 minutes of wiggling my painting around and dripping paint on the floor.
I daubed the one white spot I had left over with wet orange paint.

Now add crumpled plastic wrap (you can use a white garbage bag as well).

Let it set till almost dry/

Peel the plastic wrap off and set aside till tomorrow.
Day 3
Go take a walk outside and find some leaves. The bigger the better!
Small leaves will be more troublesome than big leaves.
Go take a walk outside and find some leaves. The bigger the better!
Small leaves will be more troublesome than big leaves.
Bring them in and dry them on a paper towel if need be.
Ours were pretty dry.
Ours were pretty dry.
I made a discovery as well, we mainly have oak trees in our neighborhood.

Before you trace look at your back ground if there is a really cool looking spot put your leaf on top of it.
This project is what I would call a negative space painting.
Where your put your leaf on the background will be highlighted in the end.
This project is what I would call a negative space painting.
Where your put your leaf on the background will be highlighted in the end.
Carefully trace around the leaf.

Trace the other side, just shift your fingers, as long as the leaf only moves a little bit,
don't worry about shifting.
don't worry about shifting.

All traced.

Carefully trace around your second leaf
Wow my fingernails look so nice all done up fancy.... I don't even recognize them.
Wow my fingernails look so nice all done up fancy.... I don't even recognize them.
Yes that is a Ticonderoga pencil.

Ok were ready for step 2.

Use your small flat headed paint brush, it should be flat not round.
Dip first in the red...
Dip first in the red...
and then into the water. You want a wet feel, so you can fluff your leafs edges.

place your paint brush on the pencil line and stroke away from the the leaf.

Go around and around.

Keep going this take time and patience.

Slow and steady fluffy strokes.

Almost done

Yippee leaf one is done! See the leaf shape pop right off that back ground.

Now do the second leaf, this one I ended up filling in the middle space.

Keep going.

Almost finished!

And were done... let dry carefully peel off the masking tape.
Add your poetry on Day 4
Proudly display your painting.
Add your poetry on Day 4
Proudly display your painting.
I am trying to get all the water color tutorials in one place, before I start CTC next year. Is it me or were 8 and 9 missed? I noticed there was a health update in between and figured perhaps that caused them not to be made!
ReplyDeleteI want to thank you so much for sharing with us!! PTL, because I was already a bit nervous doing a technique I no very little about and than teaching it to my NOT-SO artsy son:-)..
There are no Watercolor paintings for units 8 or 9.
ReplyDelete